Hello, I work in an advertising firm and have to produce many slides for my presentations on a daily basis. Because of the ease of use, I prefer Google Slides for this. However, my company has lately switched to the OneDrive platform. As a result, I need to transfer all of my Google Slides to OneDrive so that I don't lose any data. Please suggest a simple and efficient method.
Google Slides is a presentation application that is available as part of Google's free web-based editors. They are available as part of the Google Suite, with Google Docs, Sheets, Drawings, Forms, Keep, and Sites.
Google Slides data, like that of every other web-based application on G Suite, is kept on Google Drive and can be transferred straight to OneDrive using the tools explained below.
Let us understand how we can move slides from Google Drive to OneDrive easily.
Ways to Migrate Google Slides Data to OneDrive
You may move slides stored on Google Drive to Microsoft OneDrive using both manual and instant techniques.
However, because the manual method has limitations, the user is suggested to utilize the instant method.
METHOD 1: Instant Way to Migrate Google Slides to OneDrive
The Google Drive to OneDrive for Business Migration Tool is a reliable and simple tool that can be used to move Google Slides data To OneDrive effortlessly. It has the ability to transfer all items like documents, text files, PDFs, Excel worksheets, ZIP files among others.
Salient Features of the Tool:
- It provides three kinds of permissions: read, write, and comment.
- Password-protected files and documents can also be migrated.
- You may move certain files to OneDrive by using Date Filters during the conversion.
- Keep the folder structure intact during the migrating procedure.
- The utility is compatible with several operating systems, including Windows and Linux (Ubuntu).
To understand how to utilize this tool to move slides from Google Drive to OneDrive for Business, follow the steps below:
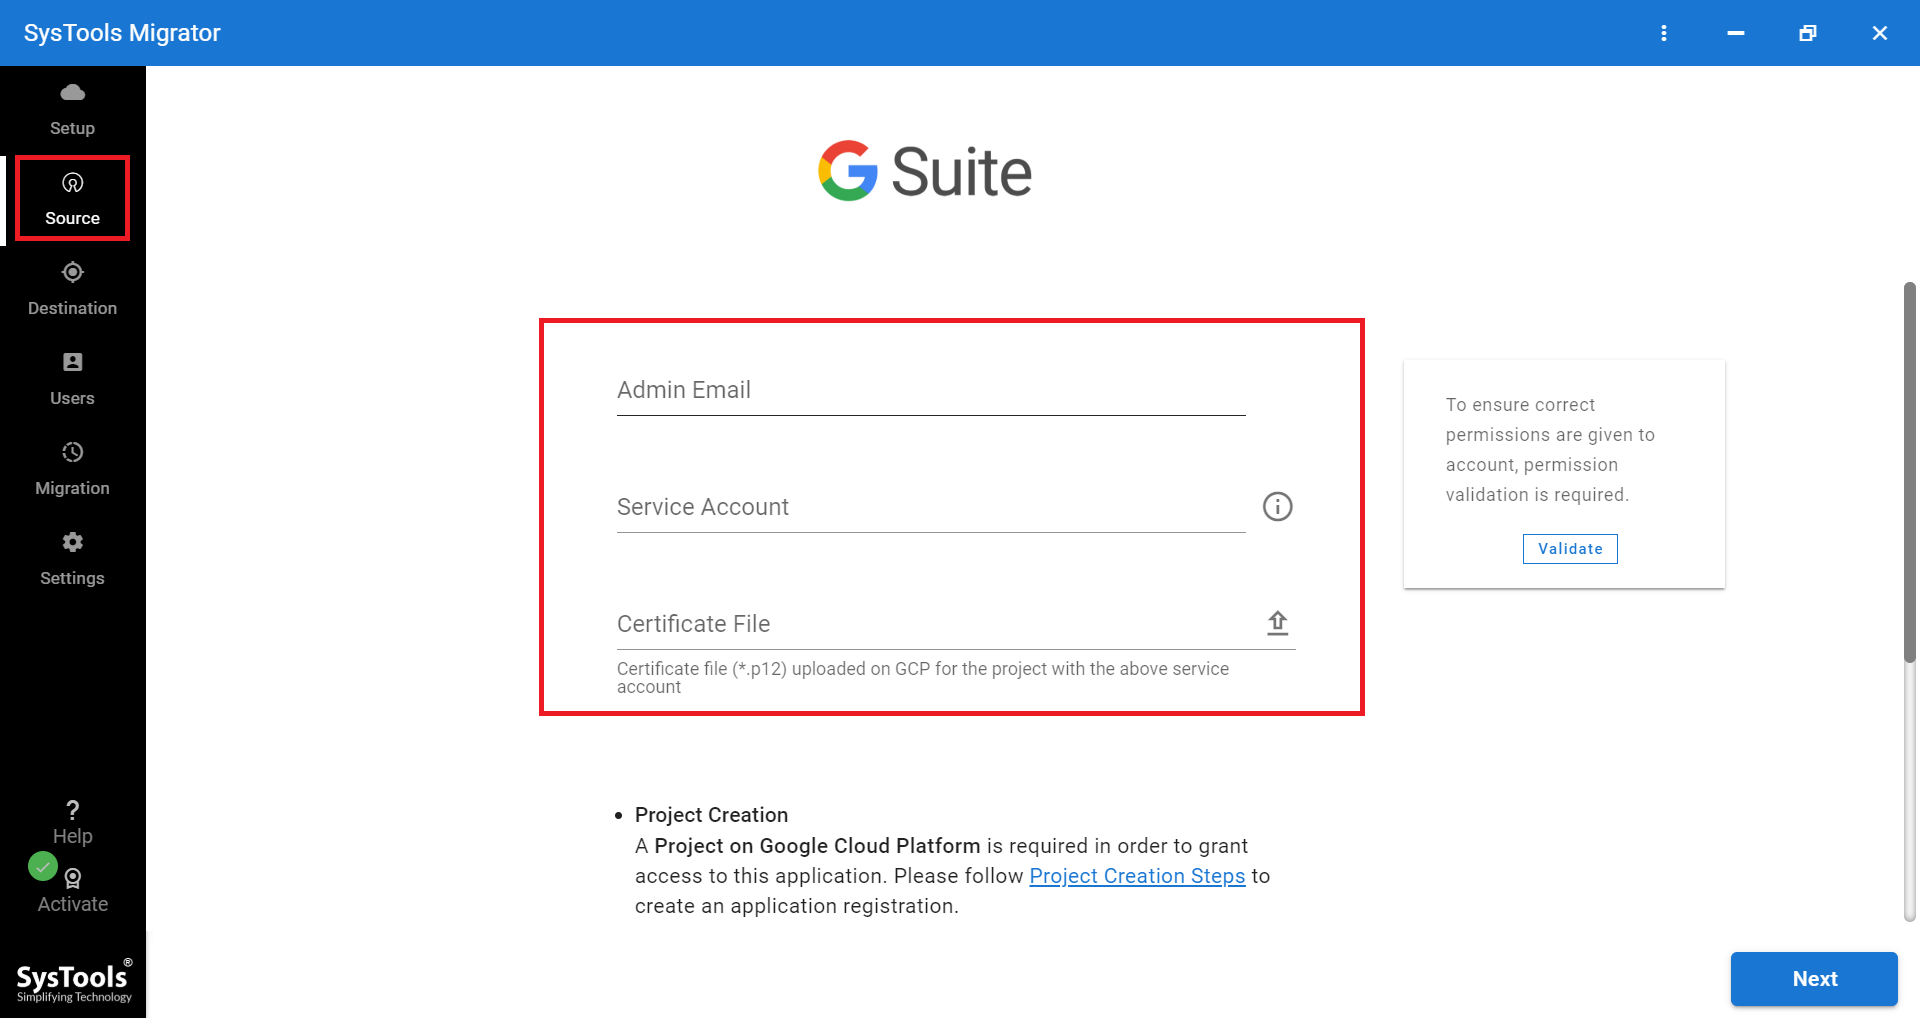
- Download, Install and Launch the migration software. After the tool is activated, select the Source and Destination Platforms in the panel.
- Next, enter details like Administrator Email and Service Account, and upload the certificate file. Validate and click on the Next button.
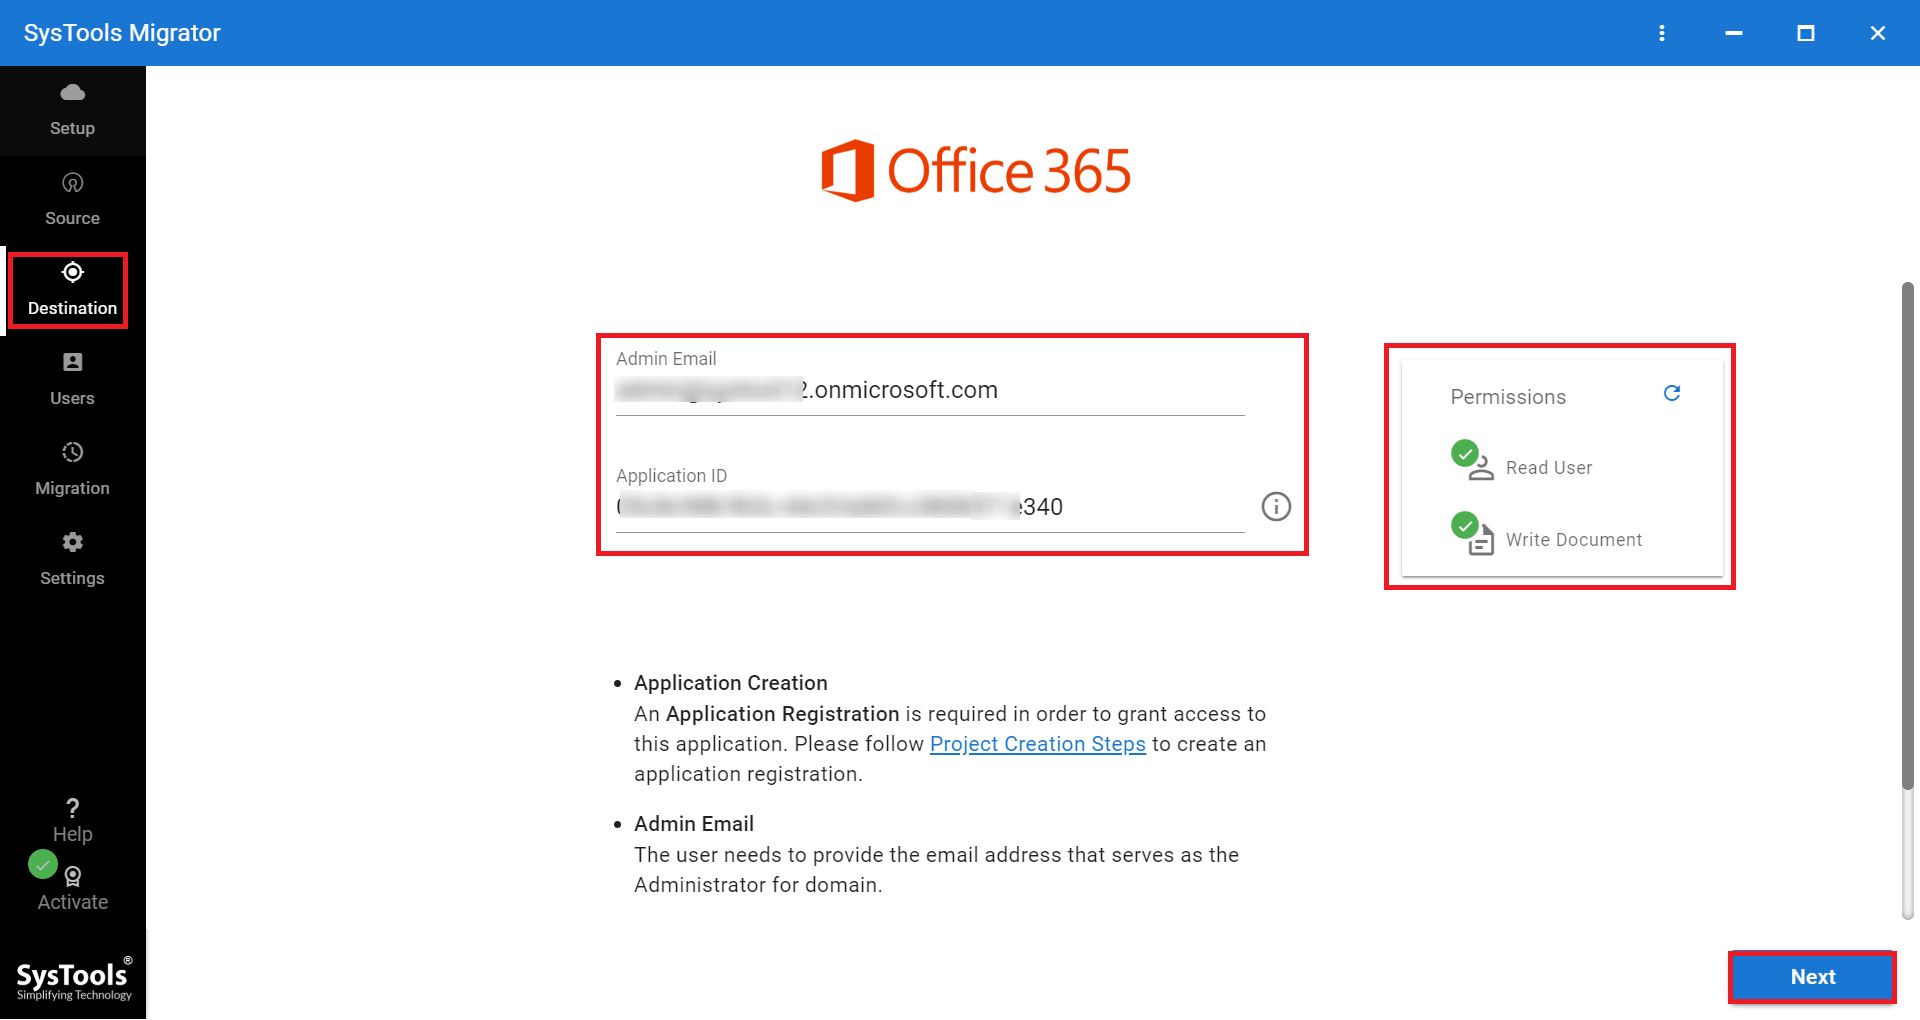
- Now, go to the Destination option and enter the Admin Email and App ID. Then click on Next.
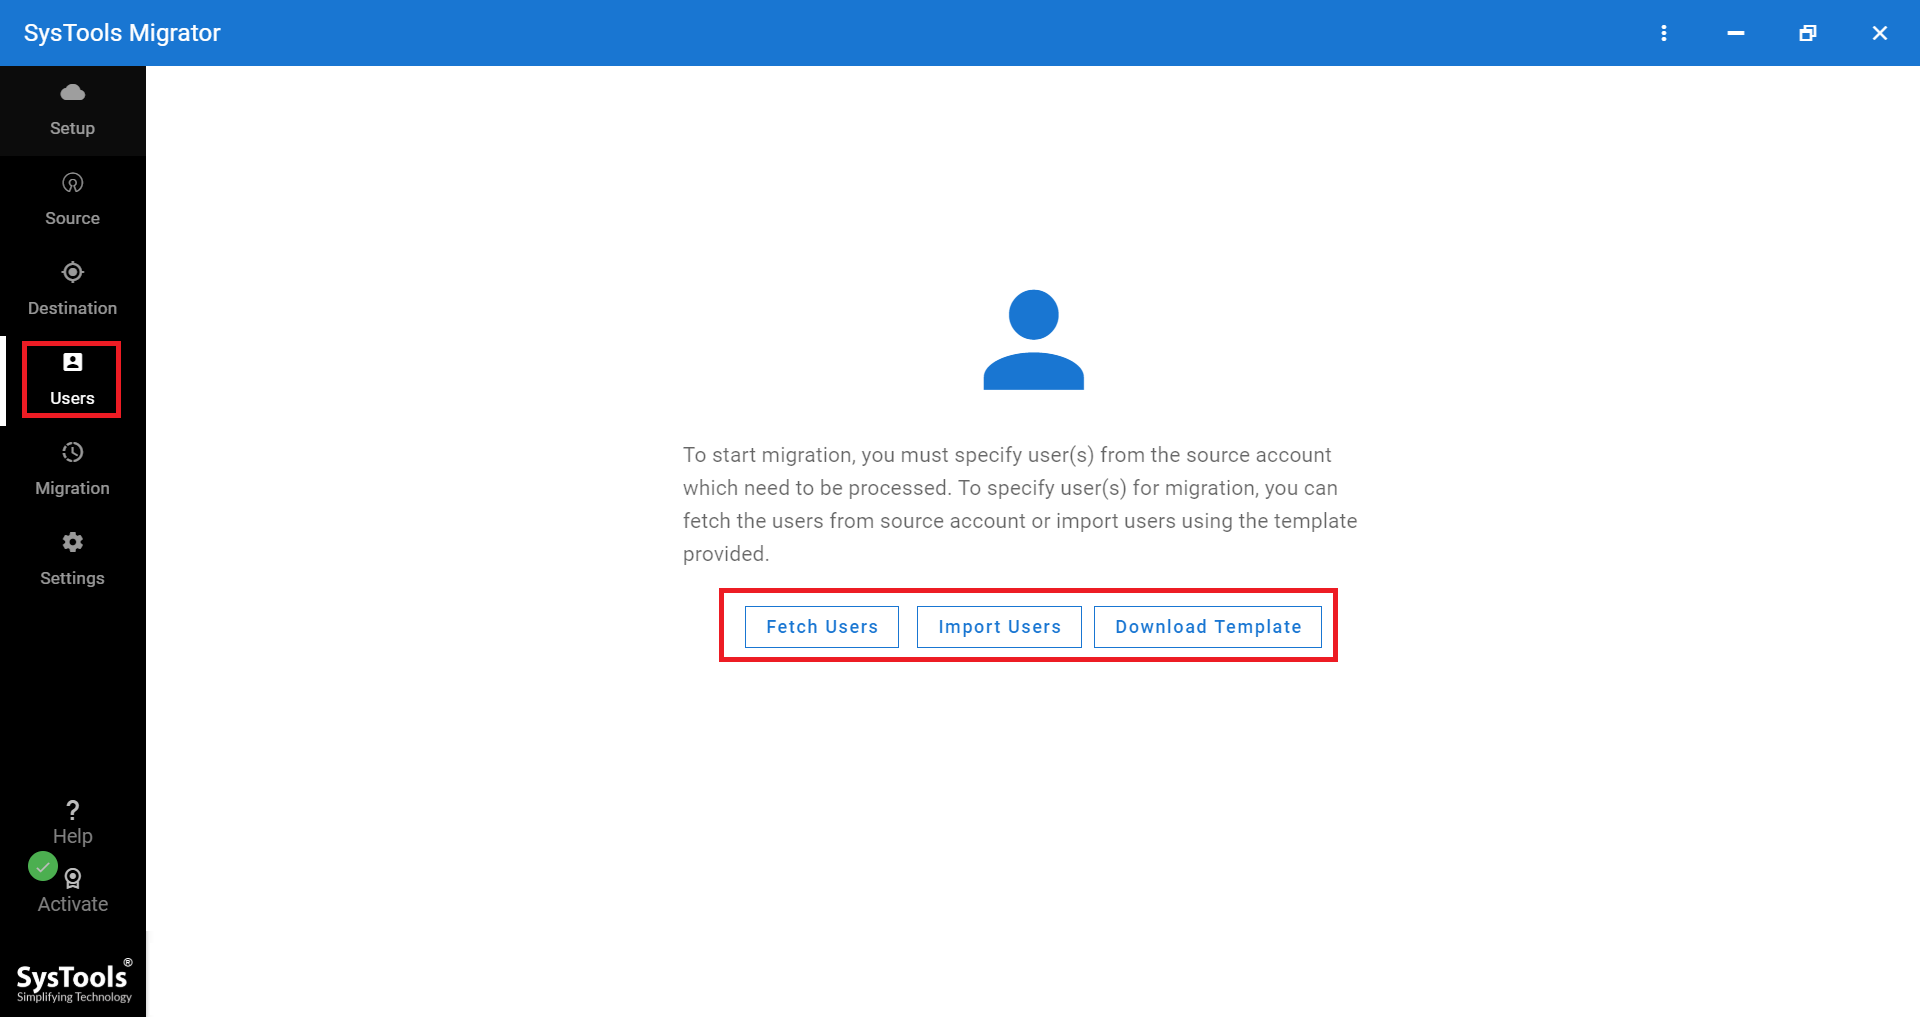
- Go to the User screen and Add users and authenticate them.
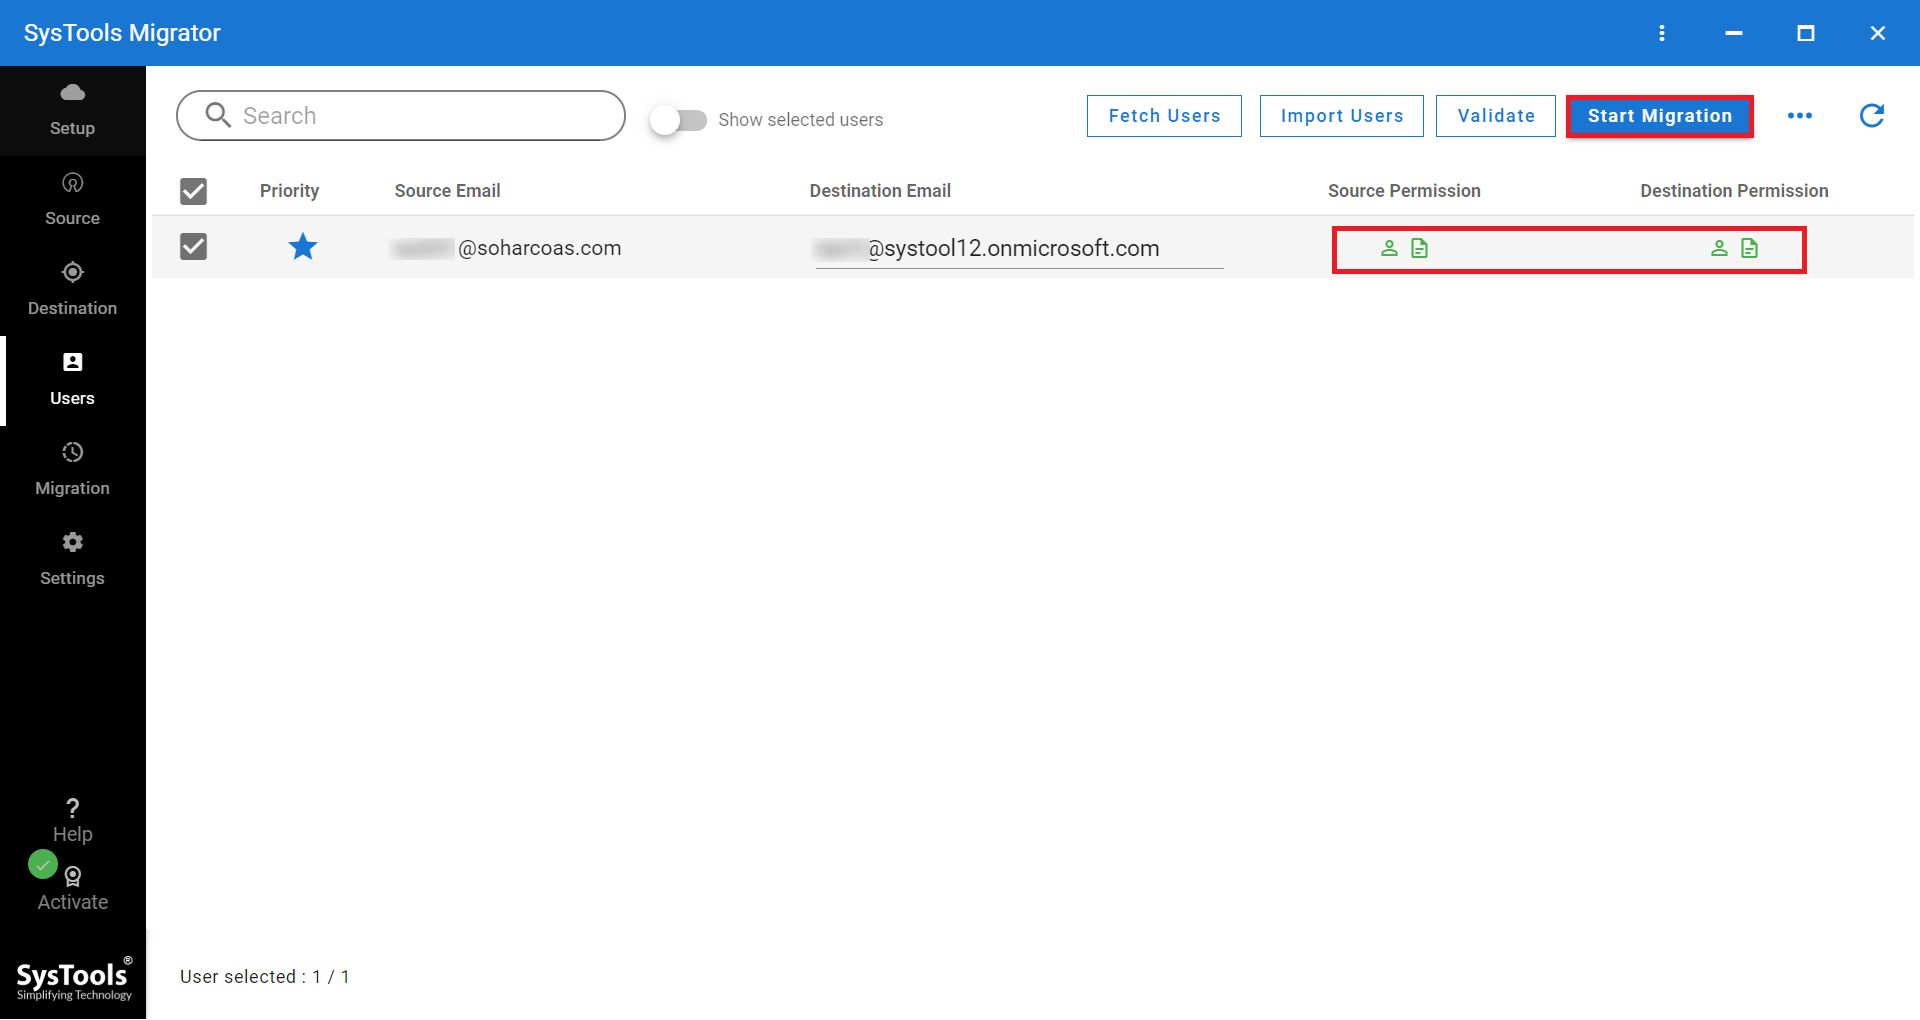
- You can migrate data based on priority. For this, Set priority and then click on Start Migration.
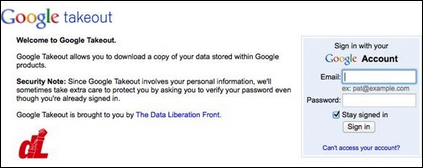
METHOD 2: Move Your Google Drive Data to OneDrive Using Google Takeout
- Visit the Google Takeout page and enter your Google Account credentials.
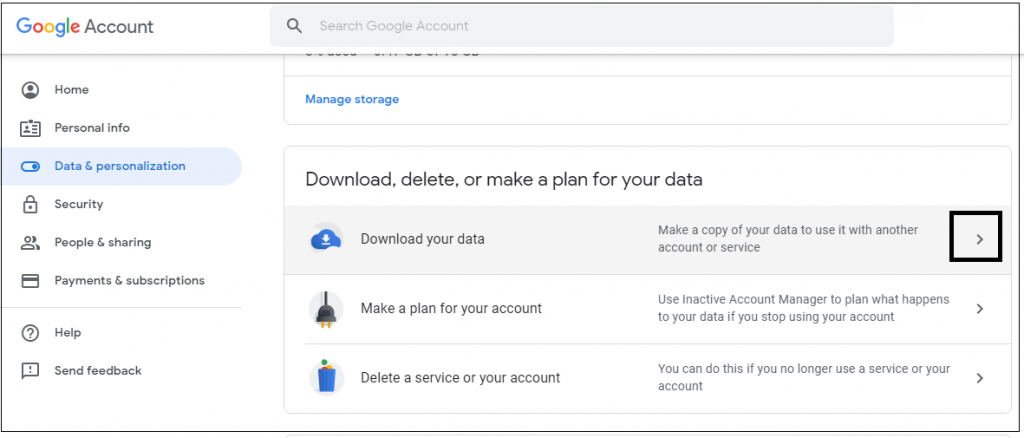
- Choose the “data and personalization” option, then click on Download Data.
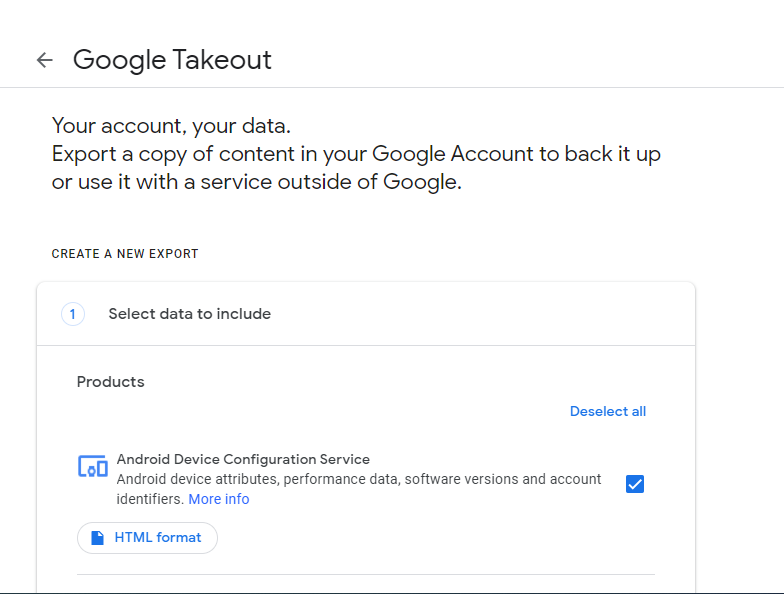
- Press the deselect all tab to move further.
- Select the Drive option, whose backup you want.
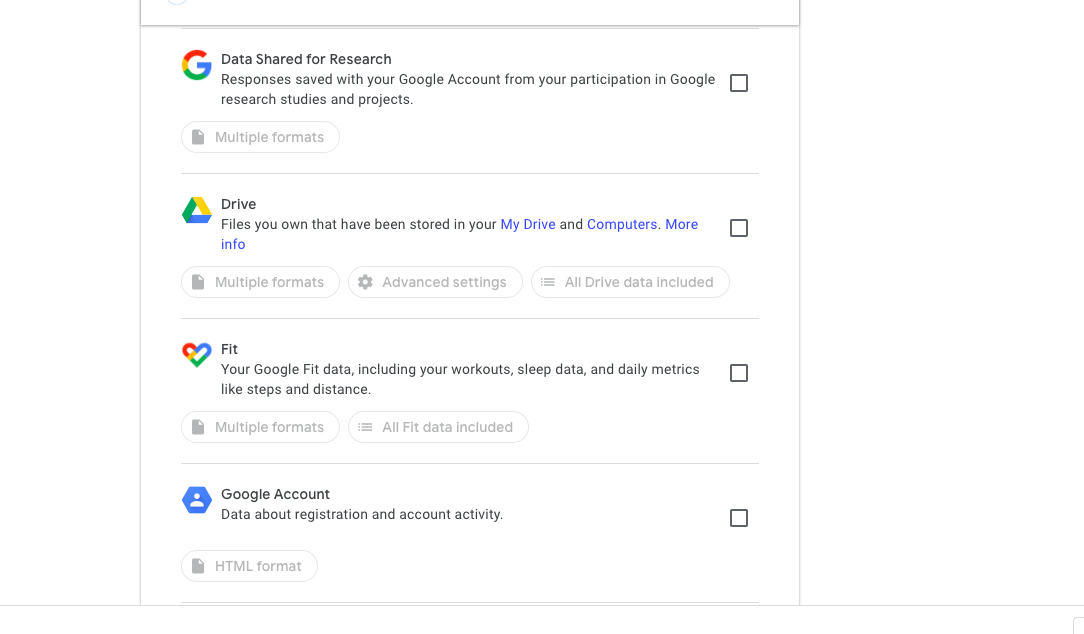
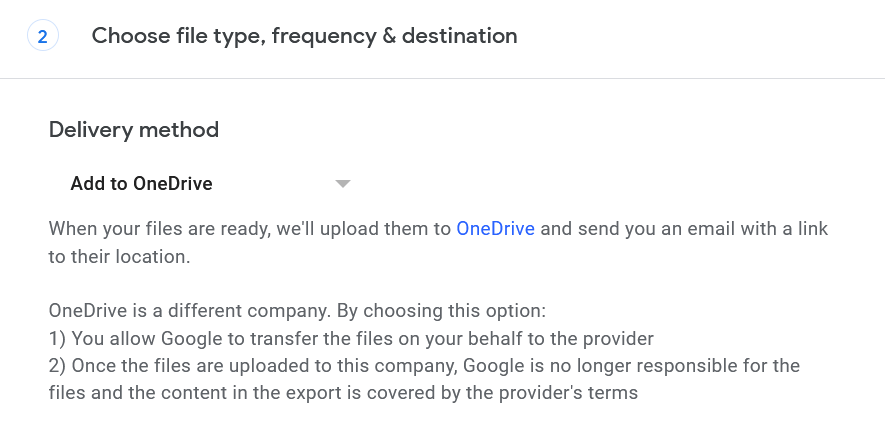
- For the selected items, choose the file type, frequency, and destination. Under destination choose to Add to OneDrive.
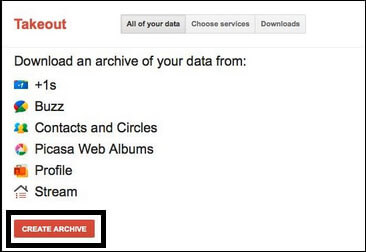
- Press the Create Archive tab to begin the downloading process.
- After the downloading is finished, press the Save button to save the Google Drive data in OneDrive.
Limitations of the Manual Method:-
- You cannot download files owned by anyone else using Google Takeout.
- Folders shared with you in Drive cannot be exported using Google Takeout, even though they contain files generated by you.
- Google Takeout has a daily limit of two to three archives and a maximum of seven per week.
- Even with the.tgz format, the daily download cap for an archive is 50 GB/day.
- When exporting large files or folders, you can experience unfinished downloads.
- If internet access is disabled, the transfer will halt and cannot be resumed. You'll have to start it from the scratch.
Method 3: Copy Your Files Using Google Drive and OneDrive Desktop Apps
- Sign in to your Gmail account, then select Drive from the Google applications menu in the top right corner.
- Select all of your documents in Drive, right-click, and select Download.
- Select Save as at the bottom of your screen once the files are compressed into a downloadable .zip file, and save the file to your desktop.
- Click the OneDrive cloud icon in the System Tray (found in the Windows Taskbar) on your Windows desktop, and then select Settings from the menu.
- Select add an account in the Microsoft OneDrive dialogue box, and then sign in with your Microsoft 365 email address and password.
- Follow the setup wizard's instructions, and then select Open my OneDrive folder.
- Open the .zip file you downloaded previously from Google Drive on your desktop, select all of the contents and drag them to your OneDrive folder.
- As shown by green check marks, the files will begin uploading and synchronizing to OneDrive for Business.
Drawbacks of This Method:
- Files shared with you cannot be seen in the Google Drive app. Thus, they cannot be dragged and dropped.
- The desktop programs for cloud drives are not designed to operate with big amounts of data. (More than 10 GB and/or more than 10,000 files).
- The process can be very lengthy.
- A lot of space on the local system is required where the Google Drive data will be stored for a temporary period.
Concluding Words
Google Slides have proved to be better than any other presentation platform. However, there can be circumstances where the user might be willing to move Google Slides to OneDrive. Since all the Slides data automatically gets saved on the drive, the user can follow the tools explained in this post to move slides from Google Drive to OneDrive account seamlessly.