Imagine you are working on some important files in Office 365 and suddenly by mistake, you pressed Delete key. Now, your file is nowhere to be found i.e., it is deleted. In such a situation, what to do next? That is exactly what we are going to address in this article. In Office 365 export soft deleted mailbox to PST and access it anytime you want.
Is There Any Chance to Recover and Export Office 365 Soft-Deleted Mailbox to PST?
Yes, in case of soft deletion there are chances to recover the deleted files with all its data in Office 365. Use the manual method of using Powershell commands to recover the data, then simply export that mailbox as PST.
Location of Soft-Deleted Files in Office 365: In O365, every mail item which is soft deleted is automatically moved into the special mailbox folder that is Recoverable Items folder. It is a hidden folder which can be seen using in-place eDiscovery tool. We will be moving the data from this special folder to an active mailbox and then save it as PST.
Office 365 Export Soft Deleted Mailbox to PST
As discussed it is a two-way process. Let’s start by using Powershell commands. The user has to follow the step by step guide explained below to recover soft-deleted mailbox in Office 365.
Use Windows PowerShell to Move Data from Deleted to Active Mailbox
-
First, you need to start Windows PowerShell
Click on Start > Search for PowerShell > Start Windows PowerShell by clicking on Run as Administrator
-
Connect Windows PowerShell to Office 365 by executing the following commands in PowerShell:
$LiveCred = Get-Credential (Provide Exchange Online Admin’s login credentials in the prompt window)
Set-ExecutionPolicy Unrestricted (Proceed with Y if prompted)
$Session = New-PSSession -ConfigurationName Microsoft.Exchange -ConnectionUrl https://ps.outlook.com/powershell/-Credential $LiveCred -Authentication Basic -AllowRedirection
Import-PSSession $Session
-
Now, you have to verify that the old mailbox is in deleted state or not
Get-Mailbox -SoftDeletedMailbox accounts
-
If the mailbox is found, collect the ExchangeGuid of the deleted mailbox
(Get-Mailbox -SoftDeletedMailbox Deleted_User_Alias@domain.com).ExchangeGuid
-
Collect the ExchangeGuid of the Active Mailbox
(Get-Mailbox ACTIVE_USER_ALIAS@domain.com).ExchangeGuid
-
After that, you need to copy the data from the deleted mailbox to the new mailbox
New-MailboxRestoreRequest -SourceMailbox "Guid of Deleted Mailbox copied from step 5" -TargetMailbox "Guid of Deleted Mailbox copied from step 6" -AllowLegacyDNMismatch -verbose
-
Now, monitor the same
Get-MailboxRestoreRequest
-
After the completion of the process, all your data will be moved to the new one.
After recovering the soft-deleted Office 365 mailbox the user can easily export it to PST.
Next, in Office 365 Export Soft Deleted Mailbox to PST, Automated Tool
The user can save O365 soft-deleted mailbox data to Outlook PST by implementing various manual solutions present on the web. However, while performing the manual solution, the user has to face data loss issues. Thus, it is always recommended to use a reliable and automated solution such as Office 365 Export Software. With this utility, the user can easily export Office 365 mailbox data and archive mailbox data into PST/EML/MSG. The user can extract complete O365 mailbox data items such as emails, contacts, calendars, tasks etc. in the required file format. All of this can be achieved with or without impersonation.

Office 365 Export Soft Deleted Mailbox to PST File Format: Step-by-step Guide
-
First, you have to download and install Office 365 Export Tool on your system and launch it

-
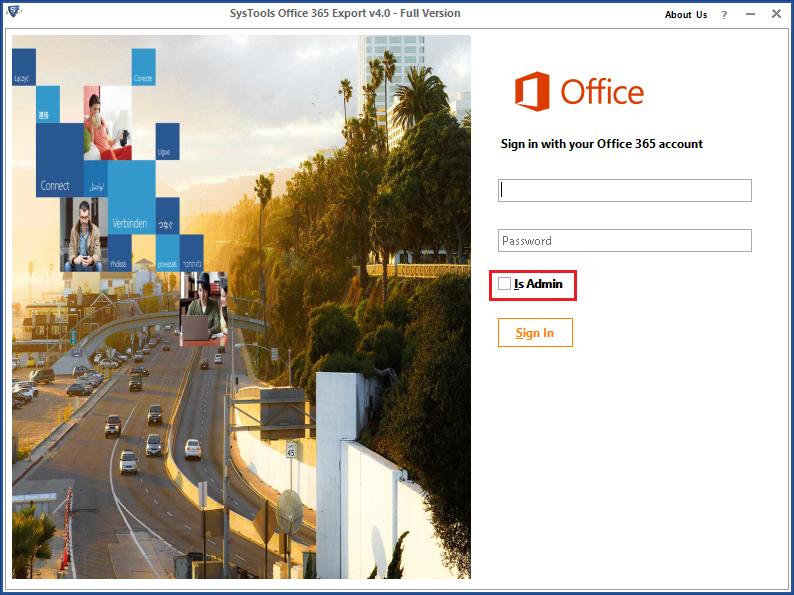
To sign in with admin account you have to check-mark the checkbox next to the IsAdmin button
-
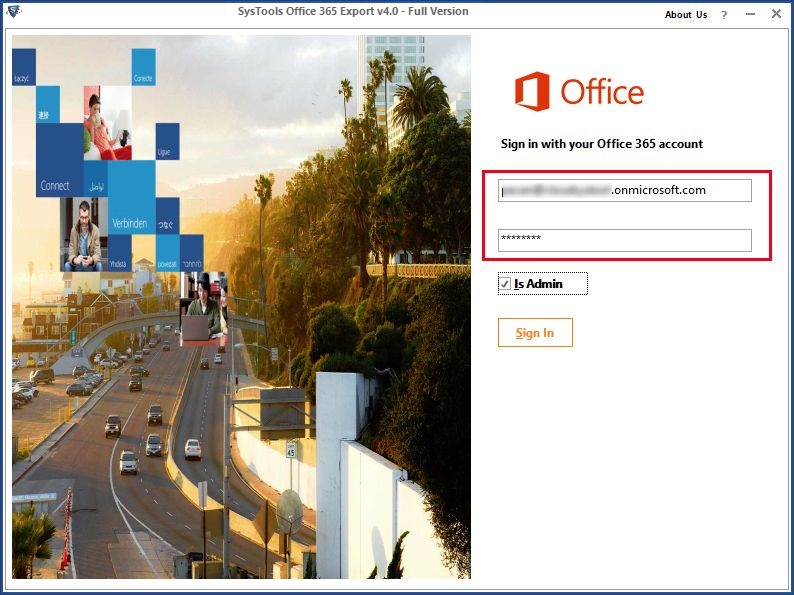
Now, you need to insert your Office 365 account credentials and then click on the Sign In button
-
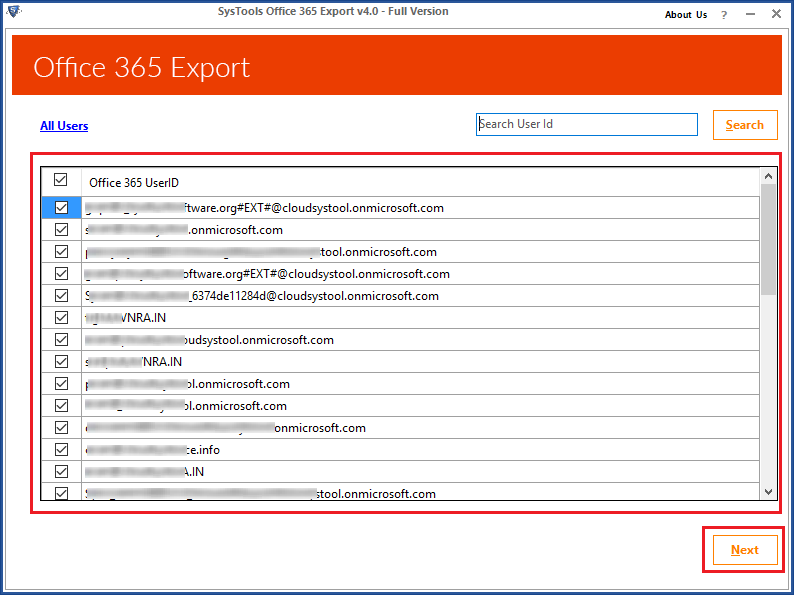
After that, you will be able to see all the user ids under the admin account. Select the required user ids and then click on the Next button
-
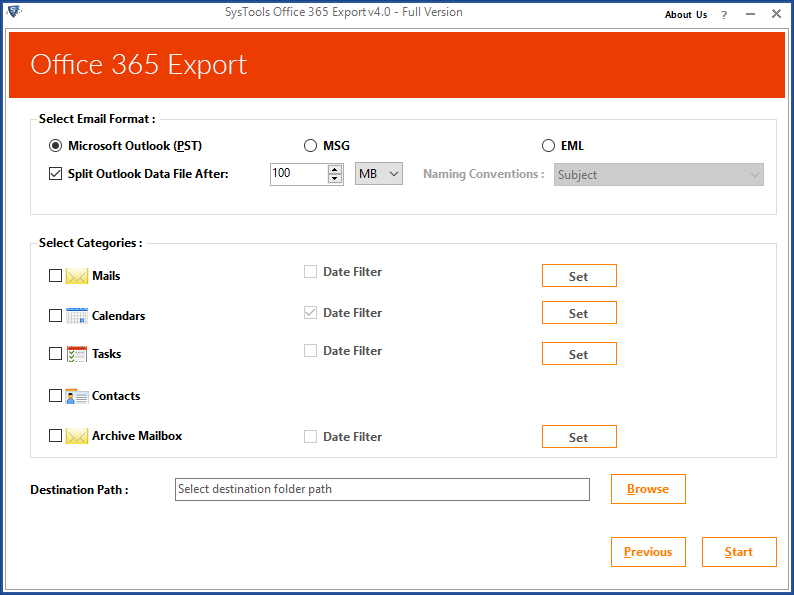
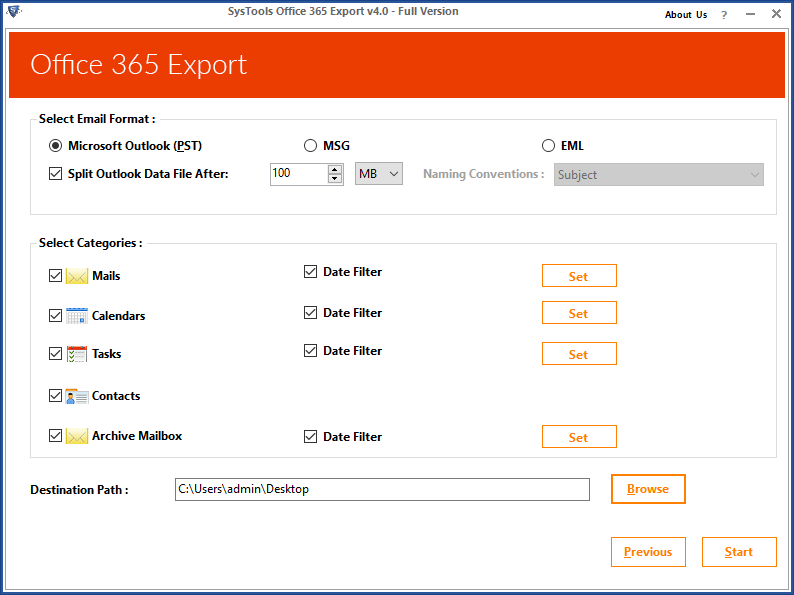
Select the file format in which you need to export Office 365 data. Click on the radio button next to Microsoft Outlook (PST) option. You can also split the data by selecting Split Options for Outlook data file option
-
In the Select Categories option, you can select Mails, Calendars, Tasks, Contacts, Archive Mailbox

-
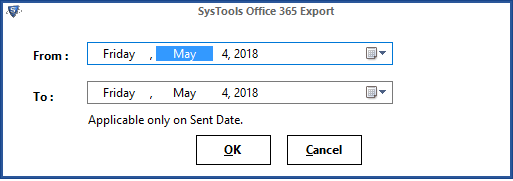
You can also apply the date filter to export the selected data according to a specific date range
-
Click on the Browse button to select the desired location to save the exported Office 365 data in PST file format
-
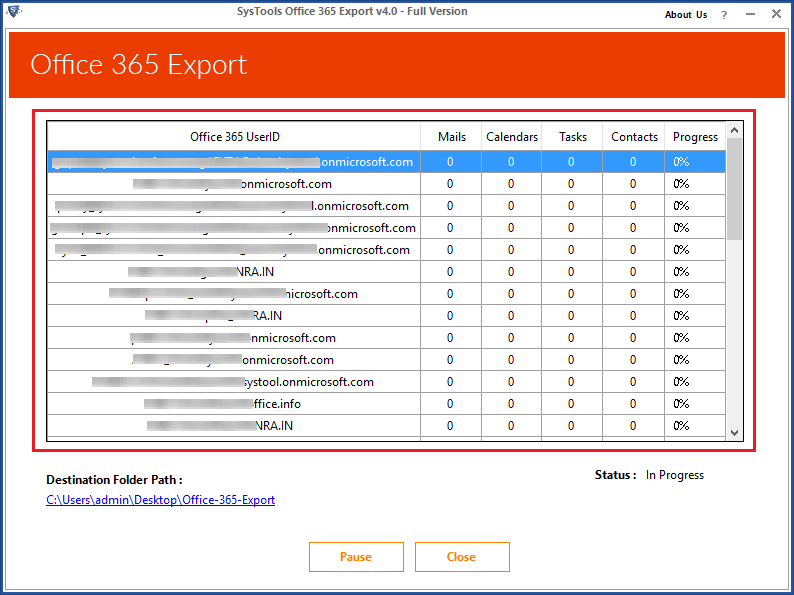
Now, click on the Start button to begin the export process
-
After the completion of the export process, you can click on the Save Report button to save the export report at the desired location

-
Finally, navigate to the location where you saved exported Office 365 data. You will see that all the Office 365 data including the recovered one is exported in PST file format.
Wrapping Up
Sometimes, the user accidentally deletes some data or files while working. The situation becomes complicated when he/she needs to recover and access that deleted data. If it is soft-deleted data then it can be easily recovered. In Office 365 export soft deleted mailbox to PST by first recovering the mailbox data and then exporting it into PST file format.