Summary: This write-up will guide you through the steps to convert OLM to PST files for free. This method uses the Outlook email client. We have you covered with another solution, in case you want an Outlook-free conversion solution.
Microsoft Outlook is a major email client available for Windows and Mac Operating systems. So, whether it’s a Mac user or a Windows user, Outlook is a great option for email communication. However, in certain situations, many users switch from Mac to Windows and end up using Microsoft Outlook here as well. Now, one would think that since both the applications are the same on different OS, the data can easily be transferred between them. But, it turns out to be a difficult task.
Learn about it below.
Why Do Users Want to Convert OLM to PST?
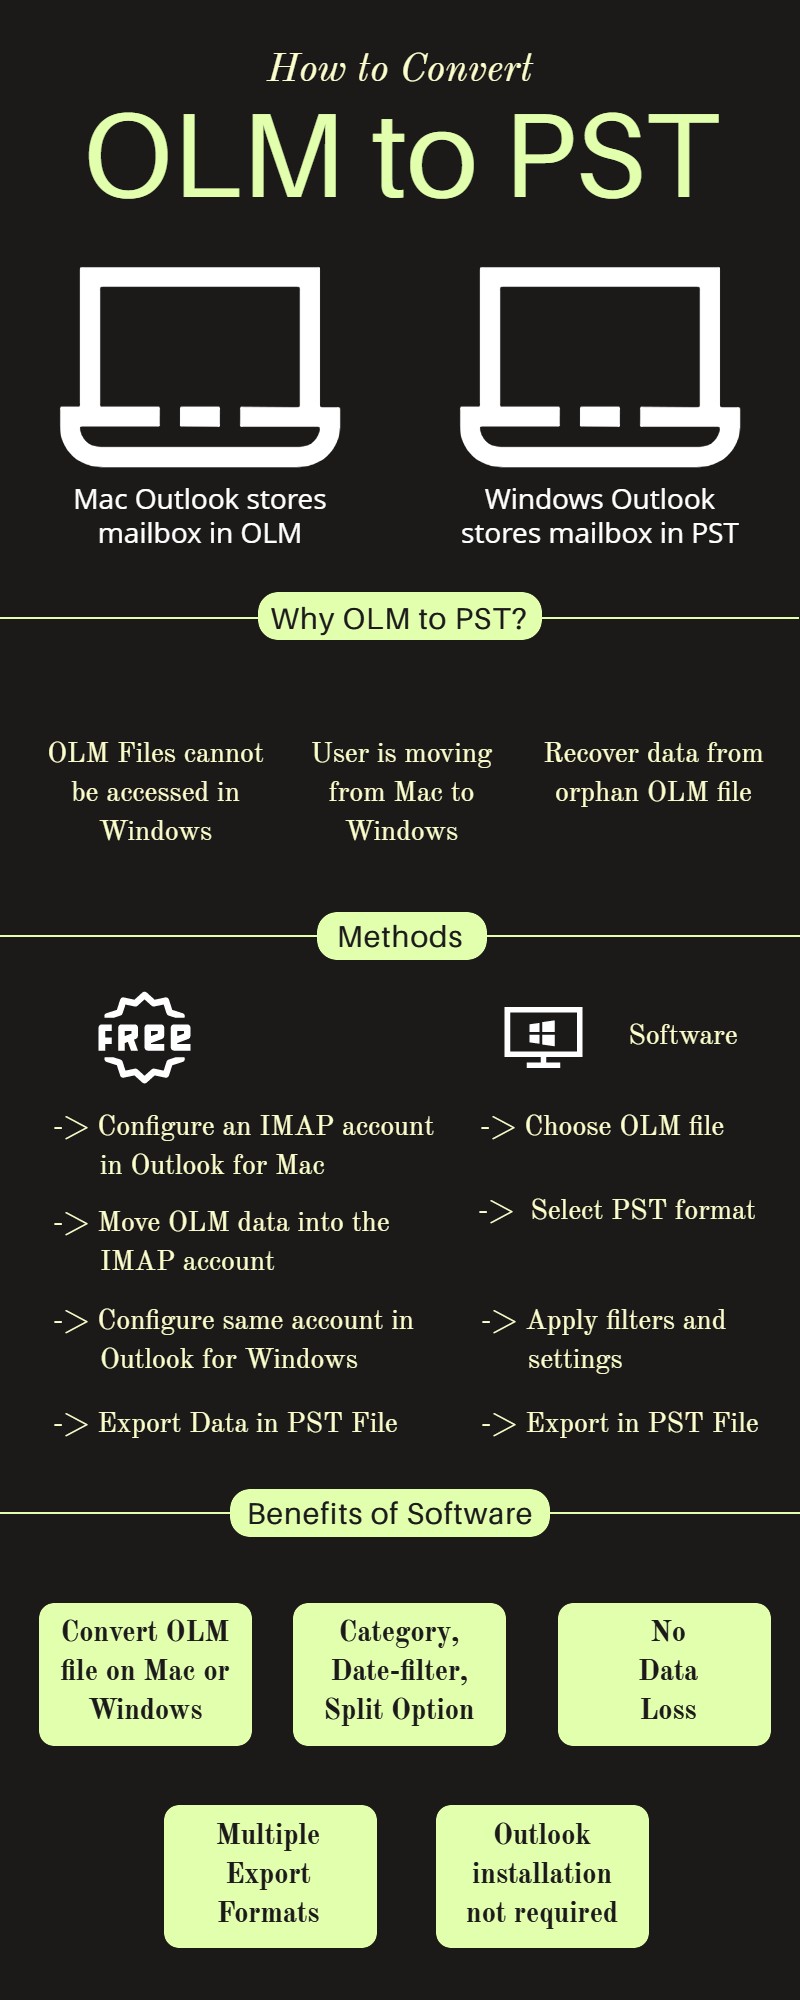
Microsoft Outlook for Mac uses OLM format to store data while Outlook for Windows uses PST format for the same. These mailbox files store emails, contacts, calendars, tasks, notes, and journals in their respective email clients. But, there is no option to directly import OLM files into Outlook for Windows. Hence, the only way one can access the OLM data in Windows Outlook is by converting OLM files to PST files. As for the reasons why one would want to do that, they are listed below:- User is moving from Mac to Windows,
- Access data from orphan OLM file,
- Someone shared an OLM file with the user, and he/she wants to view its data,
Manual Method to Convert OLM Files into PST Files
It is a free OLM to PST conversion method. It is recommended to have a backup of the original Outlook for Mac OLM file before proceeding with the manual conversion. This is done to avoid any potential risks that may arise during the execution of the free method. The manual method to convert OLM files into PST files is performed in four stages.Step 1 - Configure an IMAP account in Outlook for Mac
First of all, to reduce complications, we recommend using a new Gmail account. Since it is a new account, you will need to enable some settings in it:- Create a new Gmail account.
- Open it, click on the Gear icon and select See all settings
- Go to the Forwarding & POP/IMAP tab and scroll down.
- Checkmark the Enable IMAP box and Save the changes.
 4. Then, enter the password and click Add Account.
 5. After that, click Continue.
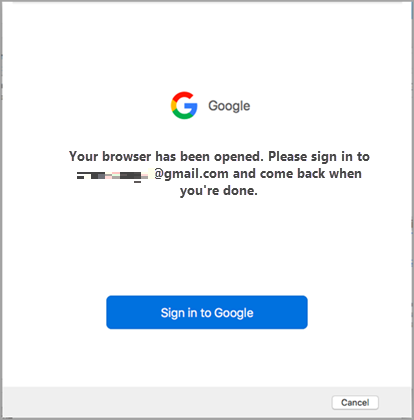
 6. Then, click Sign in to Google.
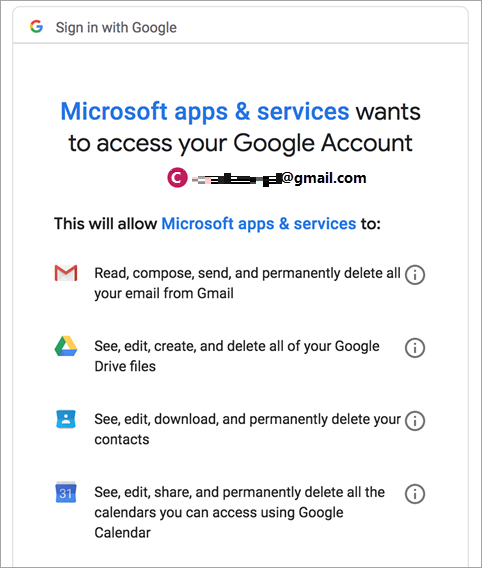
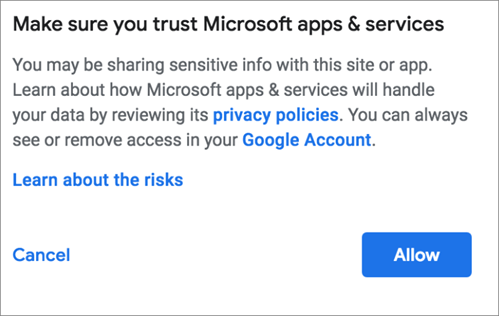
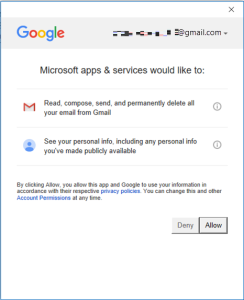
 7. Provide your credentials again and click Allow button for confirmation.
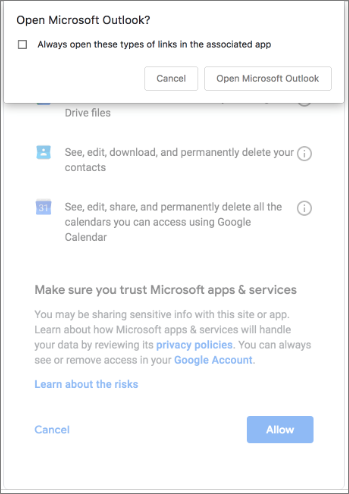
 8. Click Open Microsoft Outlook.
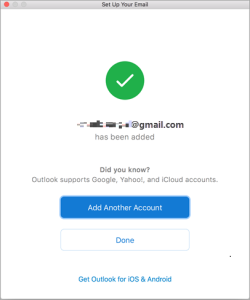
 9. Finally, click the Done button.
Step 2 - Move OLM data into the IMAP account
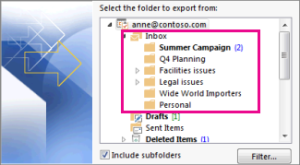
In this step, copy all the emails from the OLM profile in Outlook for Mac that you want to export from OLM to PST. And paste the emails in the configured IMAP account. Open the same account in your browser to confirm that all the emails are successfully synchronized and are available in the Gmail account for the next step.Step 3 - Configure same account in Outlook for Windows
Now that you have the data successfully placed in the Gmail account, it is time to move it to Outlook for Windows. 1. Run Outlook on Windows system and click File | Add Account.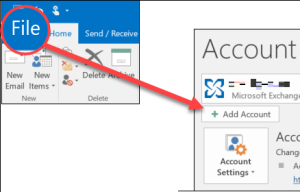 2. Enter the IMAP account details and click the Connect button.
 3. Confirm the password and click on Sign in.
 4. Click Allow to allow permissions required for configuration.
 5. Finally, click on Done button.
 With this, the OLM emails are moved to Windows Outlook, it is time for the last OLM to PST conversion step.
Step 4 - Export data in PST file
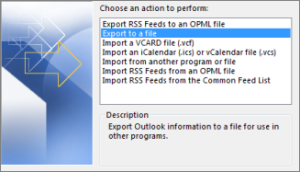
Now, you will notice that all the emails saved in OLM file is now present in your IMAP account on Outlook for Windows. You will need to let the emails synchronize to view all the email messages. Once you can verify that everything is present, simply export them to PST, if that’s what you want. 1. Go to File, then Open & Export | Import/Export.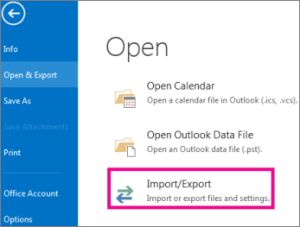 2. After that, select Export to a file.
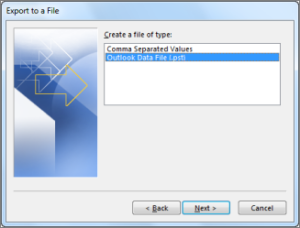
 3. Then, select Outlook data file (.pst).
 4. Now, choose the new IMAP account for export.
 5. Browse the location to save the PST file and click Finish.
 6. If you want to encrypt the file behind a password, then type in the password. If not, simply click the OK button.
Challenges in Manual OLM to PST Conversion
The free OLM to PST conversion method is helpful in some situations, but it has many limitations. Some of them are:- Complicated and tedious method for a non-tech user
- Time-consuming that may take days to complete
- A manual error puts the entire procedure at risk
- Loss of data or incomplete data transfer is a likely scenario
- Only applicable for moving OLM emails
- Requires additional steps for migrating each mailbox item, i.e., contacts, calendars, etc
Using a Professional Solution for OLM to PST Conversion
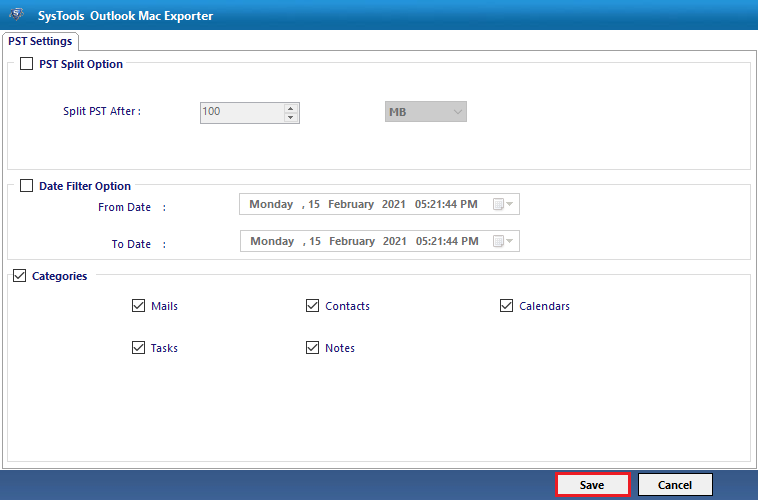
OLM Converter is a powerful OLM to PST conversion tool. This professional tool saves OLM files from Outlook for Mac 2011, 2016, 2019 in Outlook PST directly. It has many advantages over the free OLM to PST converter method. It has the facility of saving OLM file into several PST files. This program can also transfer specific data using the advanced filter settings as per user choice. There is no need for Microsoft Outlook to be installed on the computer to perform the task. And the best thing is you have two variants to get the job done: Windows variant, Simply use the software on the Windows system and convert the ported over OLM file into PST format. The Windows-based application has a preview feature to showcase all the emails before conversion. It also encapsulates a category selection, date-range filters, and split file options.Download Nowrn(Win) Purchase Nowrn(Win)
Mac variant, The Mac-based software allows you to migrate the data from OLM files into PST format on the Mac system itself. Afterward, whether you want to move the PST file to Windows system, share it with others, etc., it is your choice.Download Nowrn(Mac) Purchase Nowrn(Mac)
Both the software are available as a free demo version that allows you to carry out limited OLM to PST conversion. It is perfect to test the tool and understand its working before deciding on its full version. The tool allows converting Outlook for Mac contacts to Outlook for Windows, along with emails, calendars, tasks, and journals. Learn about its interface, features, and work with the steps of the converter software.Windows:
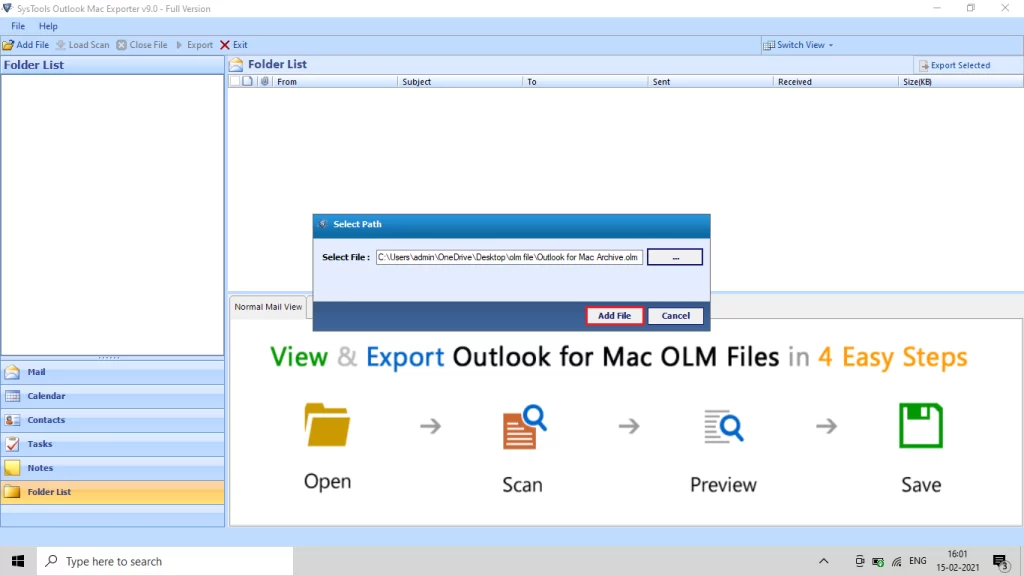
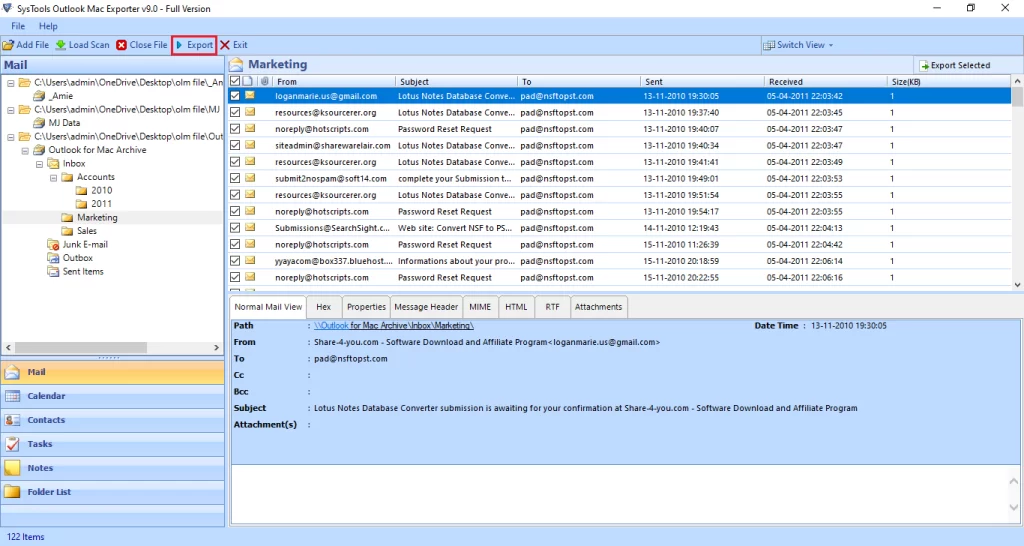
1. Run the Windows-based application and click Add File to select OLM files.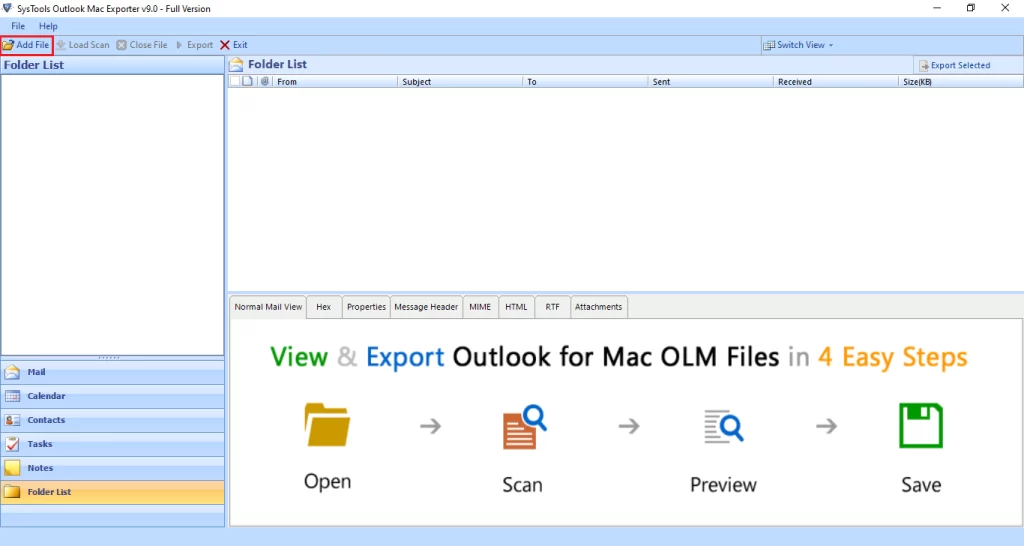 2. Browse the OLM file.
 3. After selecting the OLM file, the software previews the OLM file data.
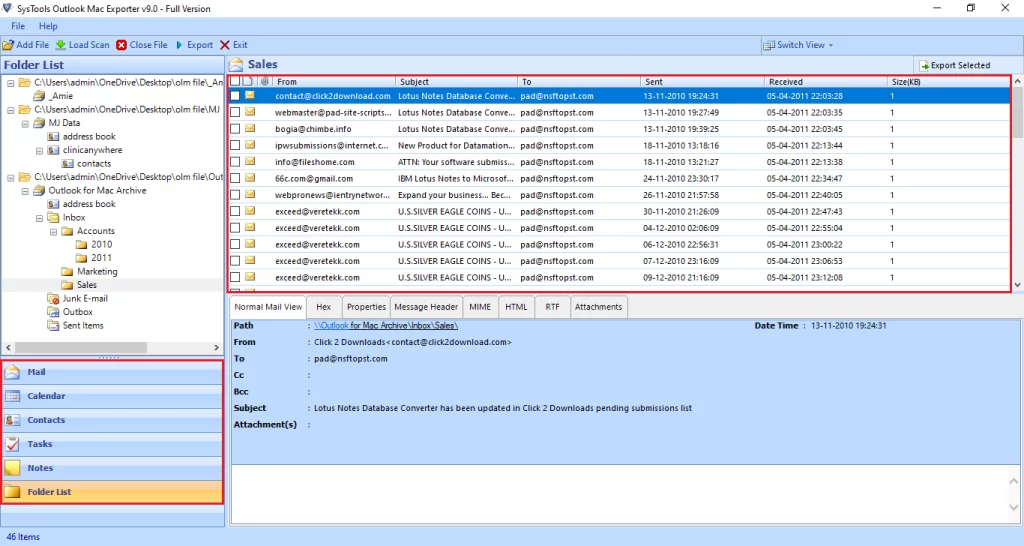 4. Then, click Export
 5. After clicking the Export button, then choose the PST format.
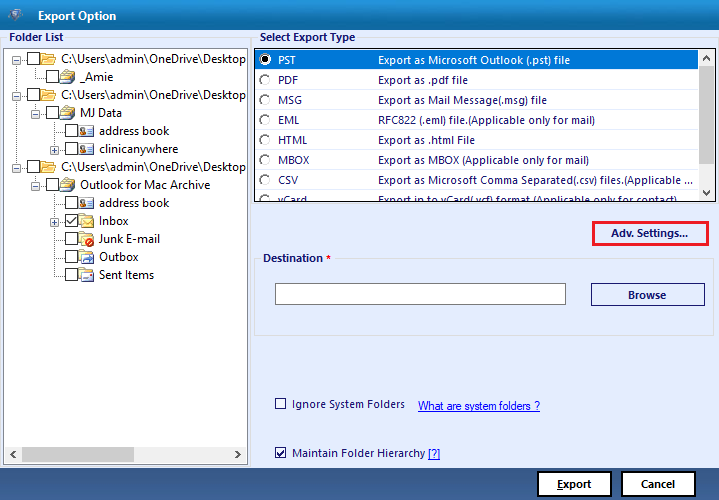 6. After that, apply Advance Settings.
 7. Finally, click on the Export button.
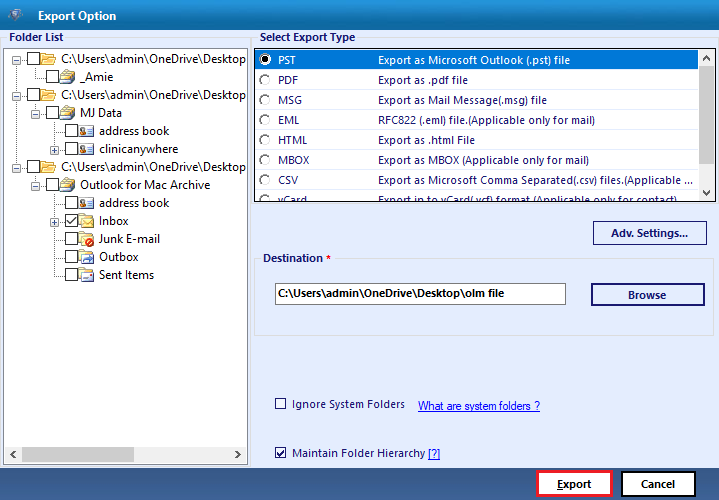 8. The NSF to PST converter starts the process and displays a message after a successful conversion.
Mac:
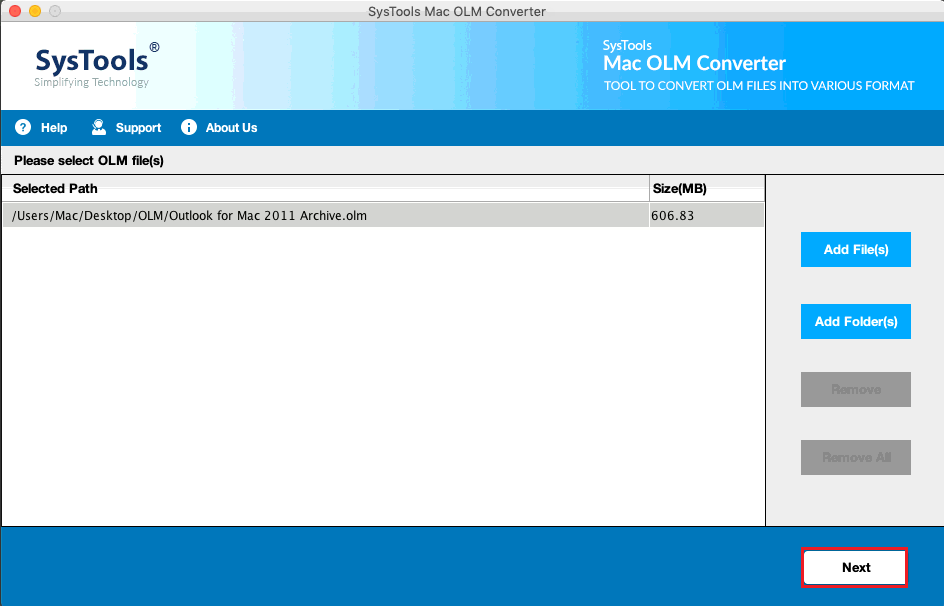
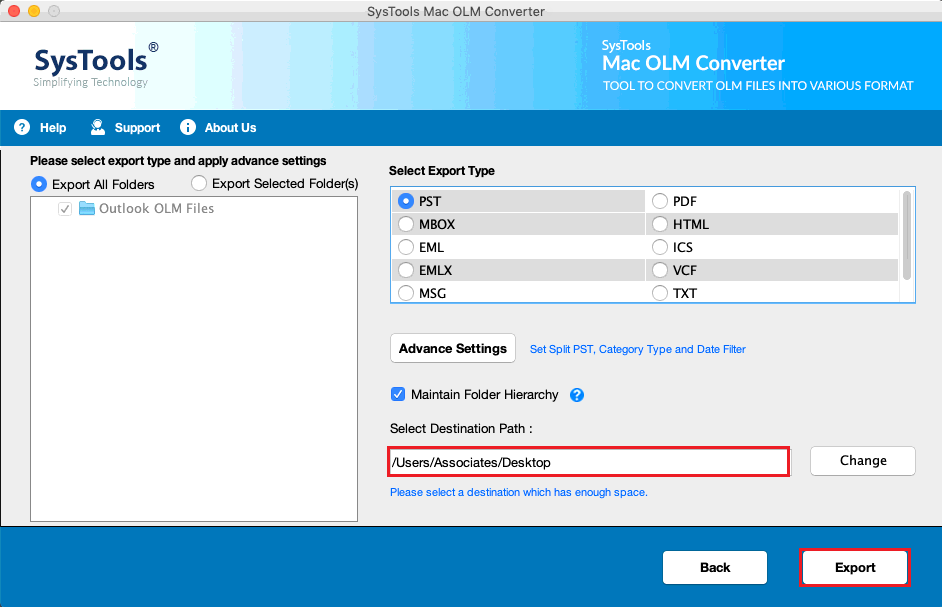
1. Run the Mac-based OLM converter and click Add File.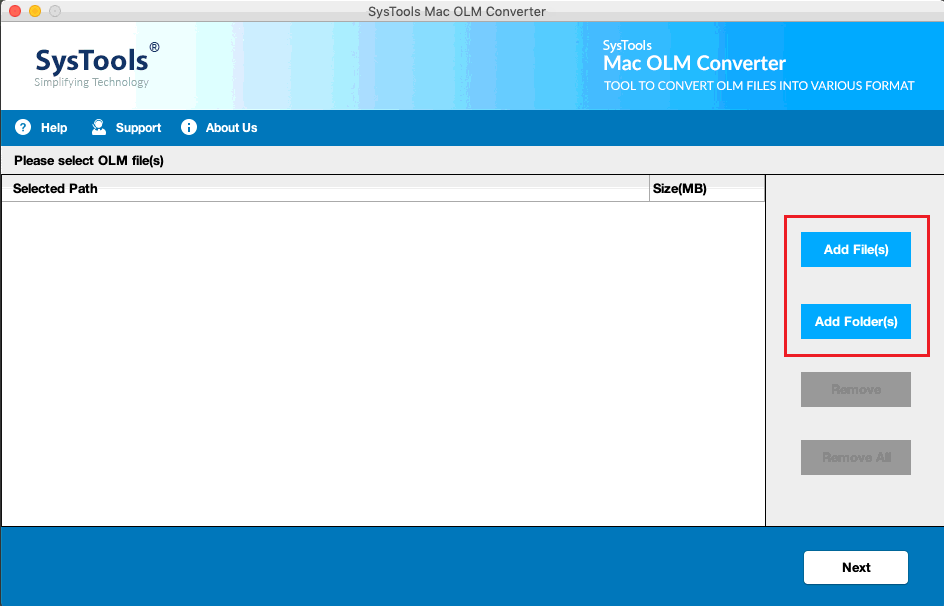 2. Select and add OLM file, then click Next.
 3. Select PST format.
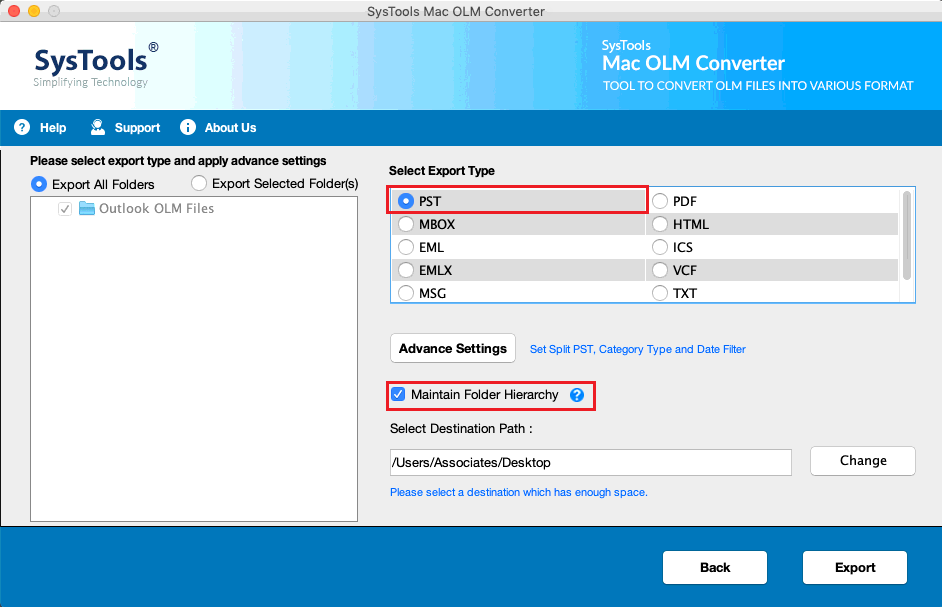 4. Apply Advance Settings.
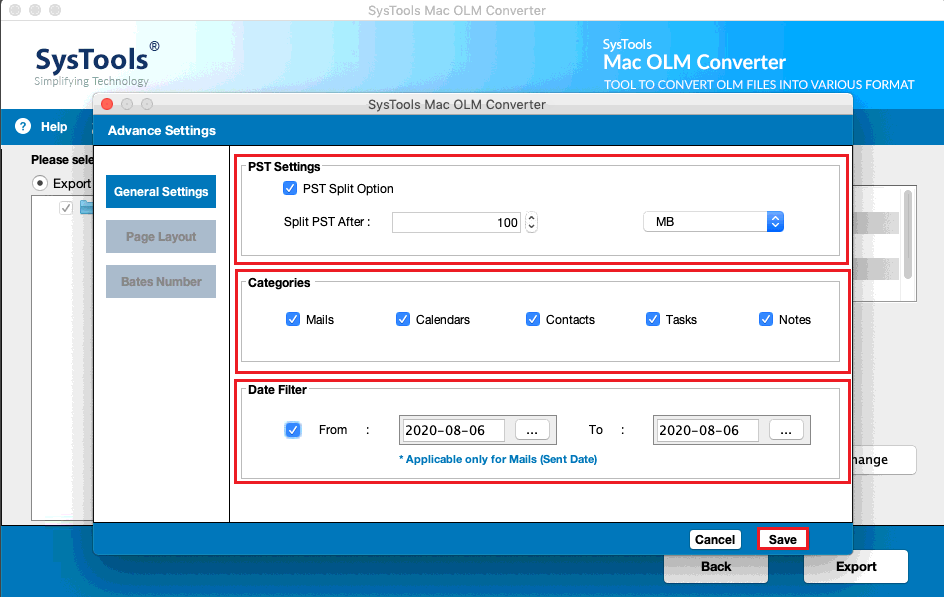 5. Click Export to start converting OLM to PST file.
Watch Video for Complete Conversion Process
Windows: Mac: These are the video tutorials for both professional solutions.Infographic on OLM to PST Conversion
Following is the infographic on the same topic: